

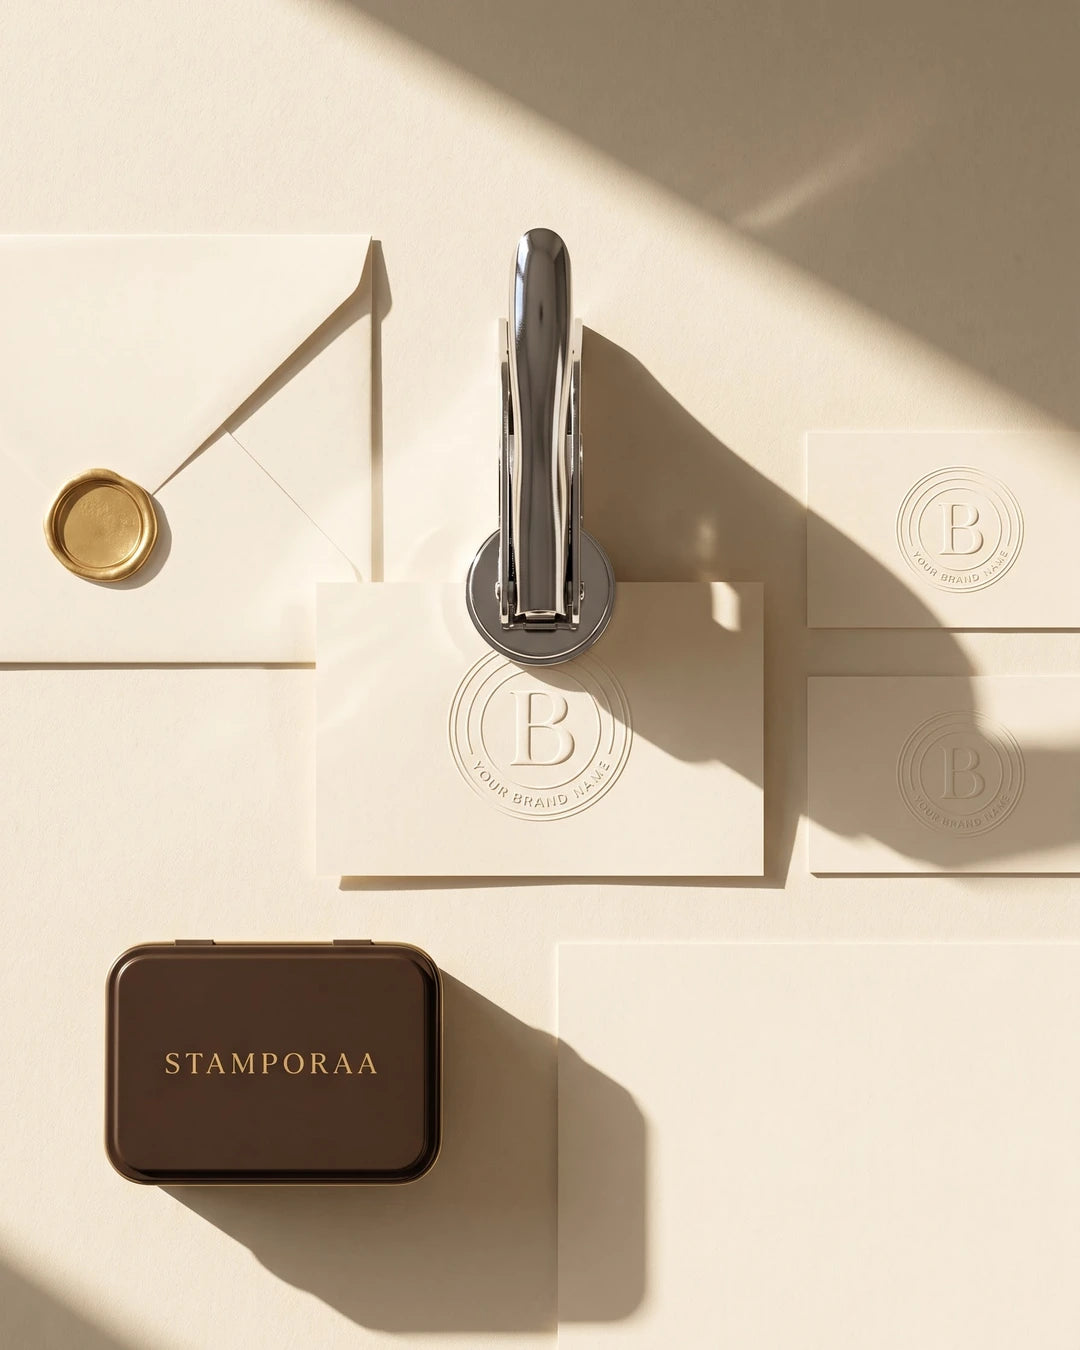


A paper embosser is one of the simplest tools you will ever own: paper in, squeeze, paper out. Getting a seal that is deep, straight and in the right place takes a little more thought. This guide covers the whole thing, from the first test sheet to storage.
Before your first press
- Find the orientation. The design is fixed to the plate, so it reads upright only when the embosser is held one way. Press a scrap sheet, look at the result, and note which way the handle pointed. Mark it with a small sticker on the base if that helps.
- Use scrap from the same paper. A test on printer paper tells you little about a thick invitation card. Test on the real stock.
- Clear the plates. New plates can carry packaging dust. Wipe them with a dry soft cloth.
Step by step
- Slide the paper in fully. Push the edge of the sheet into the jaws until it sits where you want the seal. Most handheld embossers reach a short way in from the edge, which is why seals sit in corners and along margins.
- Keep the sheet flat. Hold the paper level with the base. A tilted sheet gives a lopsided seal, deep on one side and faint on the other.
- Squeeze firmly, once. Press the handle all the way down in one smooth motion. Do not pump it.
- Hold for a second. A brief pause at full pressure sets the fibres, especially on thicker card.
- Release and slide out. Do not press twice in the same spot. Even a tiny shift gives a doubled, blurry outline.
Where to place the seal
- Books: the title page or the front endpaper, near the lower corner or centred at the top margin.
- Letters and certificates: bottom corner, or overlapping the signature area.
- Envelopes: across the flap, so the seal spans the closure.
- Cards and tags: centred, where the seal is the main design element.
For a gold or silver finish, emboss a Signature Seal card instead and stick it where you want it. That also solves placement on a page the embosser cannot reach.
Which paper works
Our embossers are designed for paper roughly from 80 to 180 gsm. Book pages, letter paper, envelopes and invitation card all sit in that range. Avoid laminated, plastic coated or very thick board, which will not take the shape and can crack.
Fixing common problems
The seal is faint. The paper is probably too thin or too soft to hold a deep relief. Try a heavier stock, or hold full pressure a moment longer. On very light paper, a faint seal is normal and still permanent.
One side is deep, the other barely there. The sheet was tilted or not pushed in far enough. Keep it flat and fully inserted.
The outline looks doubled. The paper moved between two presses. Press once only.
The paper tore or cracked. The stock is too thick or coated. Switch to uncoated card under 180 gsm.
The seal is upside down. Turn the embosser around, or turn the page, and test on scrap first.
Care and storage
A stainless steel embosser with no ink needs almost nothing. Keep it dry, wipe paper dust from the plates now and then, and store it closed. Do not try to emboss metal foil sheets, plastic or fabric, which can mark the plates.
Common questions
Do I need to use a lot of force?
A firm squeeze is enough. The lever does most of the work.
Can a child use it?
Yes, with an adult hand on it the first few times on thicker card.
Can I emboss a stack of sheets at once?
No. One sheet at a time gives a clean seal. Two sheets give two weak ones.
Can I emboss in the middle of an A4 page?
Handheld embossers reach in from the edge only. For a centred seal on a large page, emboss a seal card and apply it.
Still choosing a design? See paper embosser designs and sizes, or go straight to the paper embossers collection.

