

Searching for the best paper embosser throws up dozens of near identical listings. They look alike in the photo and differ in the one place the photo cannot show: the raised impression on paper. This guide explains what actually separates a good custom embosser from a disappointing one, so you can choose with confidence.
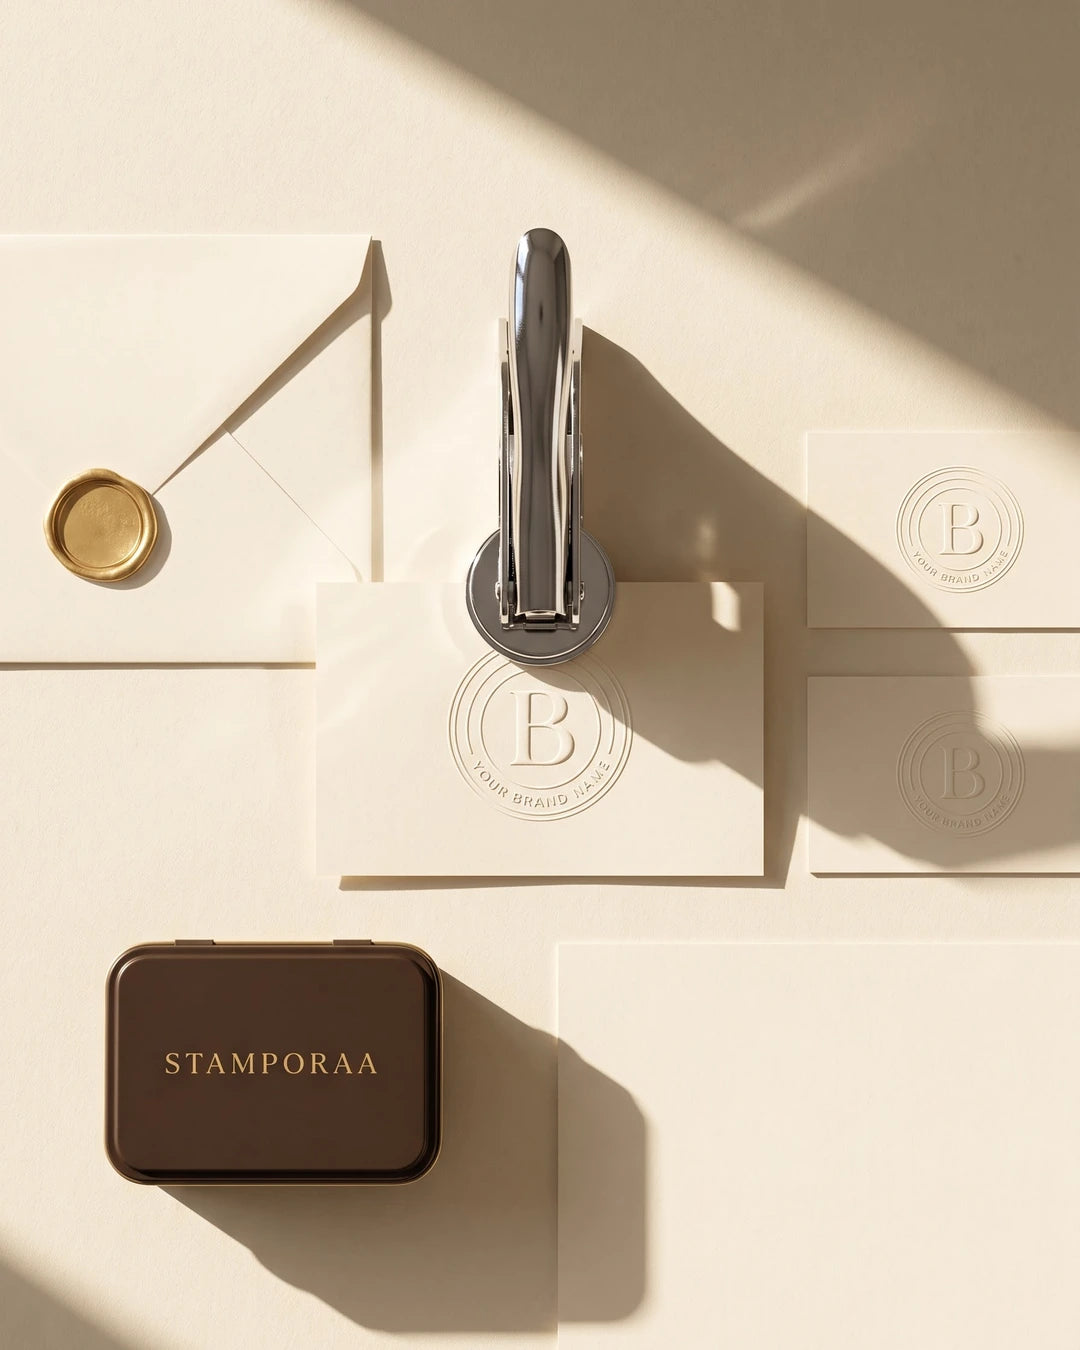
A paper embosser is a hand held press. Two metal plates, one raised and one recessed, squeeze a sheet between them and lift your design out of the paper. There is no ink. The result is a seal you can feel, which is why it appears on certificates, invitations, books and stationery.
Step 1: decide what it is for
The right embosser depends on the job. Be clear about the main use before you compare anything else.
| Main use | What to prioritise | Usual size |
|---|---|---|
| Certificates, letters and legal papers | Clear text, a simple seal | 50 mm |
| Books and personal library | A neat seal that sits in a corner | 40 mm |
| Wedding and invitation cards | Fine decorative art | 40 mm or 50 mm |
| Business stationery and packaging | Your logo, sharp edges | 40 mm or 50 mm |
| Gifts | A name or monogram that looks finished | 40 mm |
Step 2: pick the size
Size is the most common regret. The 40 mm plate suits short text, initials and simple art, and it is easy to place on a book page or card. The 50 mm plate gives every line more room, which matters for a logo with detail or a name plus a title. If you are unsure, choose the larger plate for anything with a logo. Our guide to 40 mm versus 50 mm designs shows both side by side.
Step 3: check the design, not just the listing
A good embosser starts with a good design. Look for these points:
- Few, confident lines. Hairline strokes and tiny text press softly and can disappear. Bold shapes with clear gaps lift cleanly.
- Space between elements. Crowded art fills in and looks muddy.
- Readable text. Letters need enough height to hold their shape in relief.
- A proof before production. A seller who shows you the design before making the plate protects you from a costly mistake.
If you have a logo, read how to prepare it for a custom embosser first. It saves a round of corrections.
Step 4: understand the paper
An embosser works best on ordinary printing paper and thin card. Very thick board resists the press and gives a shallow result. For thick stock, a common trick is to emboss a thin seal card and stick it on. We cover that in our guide to using a paper embosser.
Step 5: compare what is included
When two embossers cost about the same, the difference is in the details. Ask these questions:
- Is the design made to order from your text or logo, or a fixed template?
- Will you see a proof before it is made?
- How long until it ships? Our dispatch is usually same day to 2 to 3 days after you approve the proof.
- Can you build the seal visually first? Our embosser designer shows a raised preview as you type.
Mistakes to avoid
- Choosing the smaller size to save money and then losing detail. Pick for the artwork, not the price.
- Sending a low quality logo. A blurry image makes a blurry plate.
- Expecting a stamp result. An embosser is raised and colourless. If you need colour, pair it with a custom logo rubber stamp. Our guide on embosser versus rubber stamp explains when to use which.
- Ordering without a use in mind. A seal for books is not the best seal for certificates.
A quick buying checklist
Before you pay, run through this list. It takes two minutes and prevents the three most common returns.
- Write down the single main use. One job, one size, one design. A seal that tries to do everything usually does none of it well.
- Look at the artwork at actual size. Print it on paper at 40 mm or 50 mm and hold it at arm's length. If a detail disappears there, it will disappear in relief too.
- Check the text. Spelling, spacing and capitals are fixed once the plate is made, so read every letter twice and ask someone else to read it.
- Confirm the proof step and the dispatch time in writing.
A custom plate cannot be edited after production, so the care you put in at this stage decides how happy you are for years afterwards.
How to order your embosser
- Open the Impressa custom identity embosser. It takes your own name, text or logo. The 40 mm size is ₹1,669 and the 50 mm size is ₹2,999.
- Type your text, or switch on the image option and upload your logo. You can also build a live raised preview in the embosser designer.
- Approve the design proof we send. Dispatch is usually same day to 2 to 3 days after approval.
Browse every ready design in the personalised paper embossers collection.
Common questions
Which is the best size for a paper embosser?
40 mm for books, cards and short text. 50 mm for logos, certificates and anything with fine detail.
How long does a paper embosser last?
With normal use on paper it lasts for years. The plates are metal and do not wear out from regular pressing.
Can I use my own logo?
Yes. Upload it through the image option on the Impressa embosser and we prepare the plate from it, after you approve a proof.
Does an embosser need ink?
No. The impression is raised paper, so it is clean and never smudges. For a coloured version, rub a little ink or foil over the raised area afterwards.
Is a custom embosser a good gift?
Yes, especially for authors, professionals and book lovers. See our personalised embosser gift guide.

