

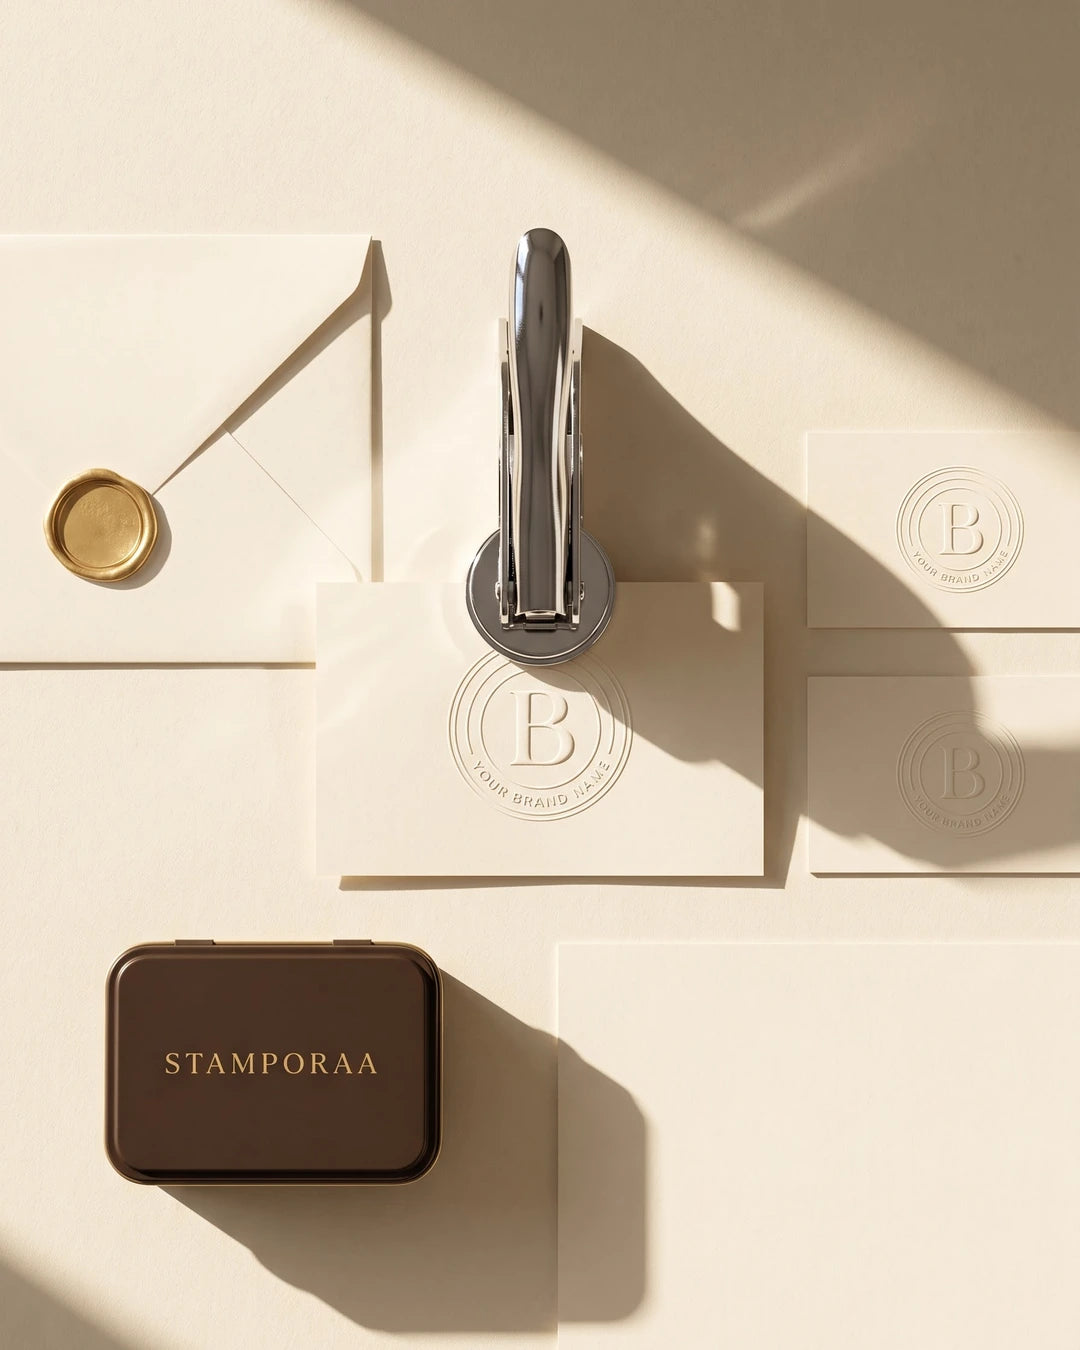


You squeeze the handle and the seal comes out faint, patchy or crooked. It is frustrating, but almost never a sign that the embosser is faulty. In most cases the cause is the paper, the grip, the alignment or the design. This guide covers each cause in the order worth checking.
If you are new to the tool, start with how to use a paper embosser. Here we focus on fixing problems.
Quick diagnosis
| What you see | Likely cause | Try this |
|---|---|---|
| Whole seal is faint | Paper too thick or too soft | Switch to standard printing paper or thin card |
| One side stronger than the other | Uneven pressure or tilted tool | Hold flat and squeeze evenly with a firm grip |
| Fine lines missing | Design too delicate | Use a simpler design or the 50 mm plate |
| Seal sits off centre | Plates not lined up with the paper edge | Slide the sheet in to the stop and press straight |
| Paper tears or marks | Too close to the edge or too much force | Move the seal further in and ease the squeeze |
| Impression fades after a day | Soft or damp paper | Use crisper paper and store it dry |
1. Check the paper first
Paper is the cause more often than anything else. An embosser lifts a design by pushing paper fibres into a recess, so the sheet must be able to stretch a little without tearing.
- Too thick. Heavy board resists the press and gives a shallow mark. Emboss a thin seal card instead and stick it on.
- Too thin or soft. Flimsy paper can tear or let the shape collapse. A medium weight sheet is the sweet spot.
- Damp paper. Humidity softens fibres, and the relief relaxes. Keep paper dry.
Test on a spare sheet of the same paper before you press the real document.
2. Fix your grip and pressure
Use the full hand, not just the fingers. Place the embosser on a hard, flat table and squeeze steadily until the handles meet, then hold for a second before releasing. A quick half squeeze leaves a faint mark. Squeezing in the air, with the tool tilted, leaves an uneven one.
3. Line up the plates
Slide the sheet in until it meets the stop, keep it straight and press. Pressing at an angle, or with the paper partly out of the throat, shifts the seal. If your impression always lands too high or low, mark the spot lightly in pencil on the first few attempts until the position becomes habit.
4. Look at the design
Fine hairlines and tiny text press softly even on perfect paper. That is a limit of the art, not the tool. If your seal has delicate detail, the larger 50 mm plate gives it more room, and a bolder version of the design presses better. Read our logo preparation guide to see what kind of artwork lifts cleanly.
5. Keep it clean
Paper dust and lint can collect between the plates and soften the impression. Wipe the plates with a dry cloth now and then and store the embosser closed. Do not oil the plates, because oil can mark the paper.
6. Press where the paper is supported
Near a fold, a staple or a thick edge, the relief weakens because the paper cannot sit flat. Move the seal to a flat area, or press before you fold or bind the document.
When to contact us
If you have tried fresh paper, a firm even squeeze and a flat table, and the impression is still poor across the whole seal, send us a photo of the result. We will check it against your design proof and tell you what is happening.
A simple test routine
When a seal looks wrong, change one thing at a time so you learn the cause. First press on a fresh sheet of ordinary printing paper. If that is crisp, the problem was your original paper. Next press on a hard table instead of a soft pad or a stack of sheets, because a cushion under the paper absorbs the force. Then try a longer, steadier squeeze. Only then suspect the design.
Keep a small scrap sheet next to the embosser for a practice press before every important document. Ten seconds of practice avoids a ruined certificate or a wasted invitation.
How to order your embosser
- Open the Impressa custom identity embosser. It takes your own name, text or logo. The 40 mm size is ₹1,669 and the 50 mm size is ₹2,999.
- Type your text, or switch on the image option and upload your logo. You can also build a live raised preview in the embosser designer.
- Approve the design proof we send. Dispatch is usually same day to 2 to 3 days after approval.
Browse every ready design in the personalised paper embossers collection.
Common questions
Why is my embosser impression faint?
The usual causes are paper that is too thick or soft, an uneven squeeze, or fine detail in the design.
Does an embosser need oil or maintenance?
No oil. Keep the plates dry and clean, and store it closed.
Can I emboss on thick card?
Not well. Emboss a thin seal card and stick it on. Our gold seal cards are made for this.
Why is the seal not centred?
Slide the paper in to the stop and press straight on. A pencil mark helps while you learn the position.
Will it get better with use?
The tool does not change, but your technique does. Most people get a clean seal after a few practice presses.

